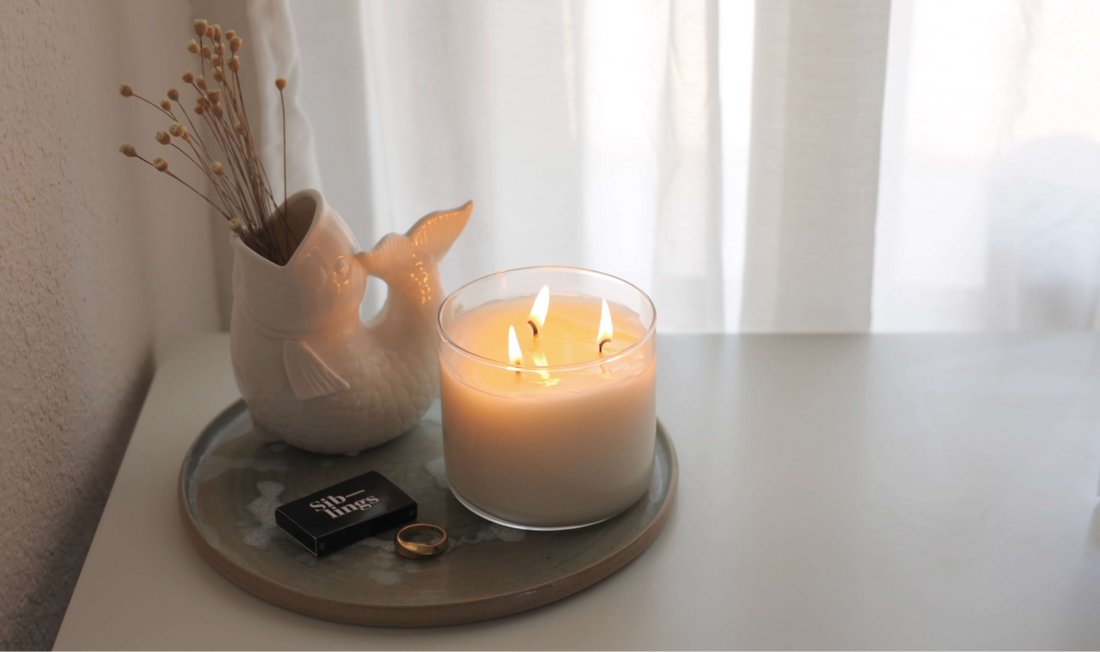
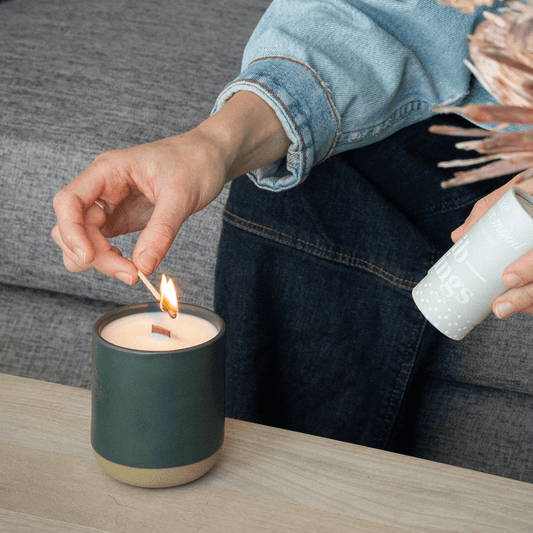
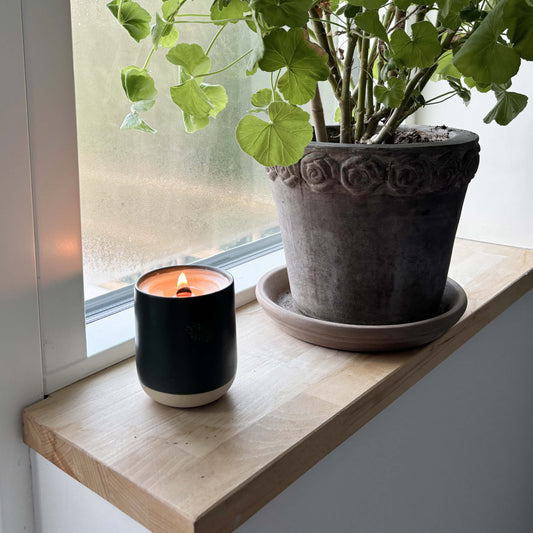
If you’re an avid candle burner like us, you’ve undoubtably seen it before. The dreaded tunneling effect. Your candle began with a beautifully even, flat top and it was burning so nice…until it wasn’t. The melt pool stops short of the edge and precious wax starts getting left behind along the vessel walls. Why oh why does this happen to good people?
Don’t worry, it’s not you, and it’s not the wax or the fragrance or the vessel — it’s the wick! Most candle wicks are only able to burn effectively in vessels up to 3 - 3.5” in diameter. In larger vessels, a single wick cannot burn hot enough to form a melt pool across the entire surface of the candle, resulting in the wax ‘tunneling’.
Enter multiple wicks to the rescue.
How to make a multi-wick candle
Generally, for vessels over 3.5” in diameter, or oddly shaped vessels, we recommend making a multi-wick candle. While our Clean Candles only come with one wick, we sell extra wicks in the web shop for just this purpose.
Step 1: Calculate number of wicks
The first step in making a multi-wick candle is measuring your desired vessel so you can determine how many wicks to use. An easy formula to remember is to add a wick for every extra inch over 3” in diameter. For instance, a 4” vessel = 2 wicks, 5” = 3 wicks, 6” = 4 wicks, and so on.

Step 2: Set your wick pattern
Once you know how many wicks you’ll need, it’s time to figure out your wick pattern. As a rule of thumb, space wicks out evenly from each other and the sides of your vessel. Wicks placed too close to the side of the vessel can result in the glass / material getting too hot, and the risk of breakage grows. In round vessels, a triangular (3-wick) or square (4-wick) pattern is a good starting point. For oblong shapes, try evenly spacing wicks down the length of the vessel.

Step 3: Melt, pour, enjoy
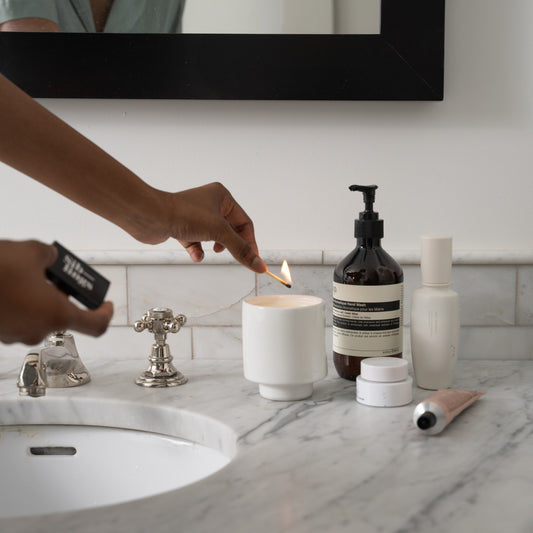
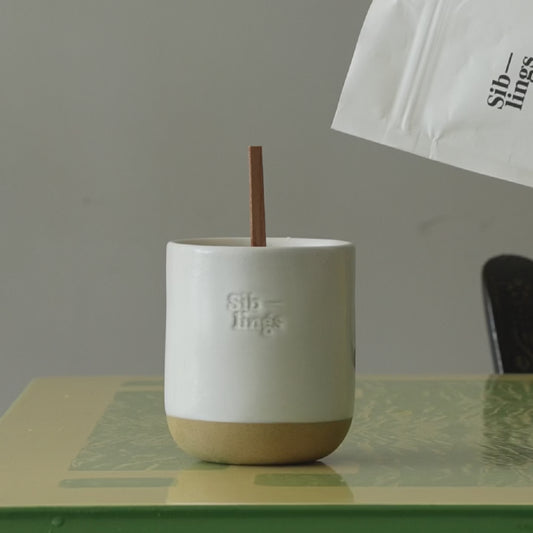
Now it’s time to prep and pour! If you’ve made our candles before, you know the drill. The process is much the same with a multi-wick candle. With your pattern in mind, position and secure the wicks in your vessel. If you need extra wick holders, chop sticks or a clothes pin work well. Melt the bag of wax, or maybe two depending on your vessel size, in the microwave or in a pot of simmering water on the stovetop. When all the wax is liquified, pour into your vessel. Let it set for at least a couple of hours (setting time may be longer depending on the size of your candle) and then trim the wicks to 1/4” — light and enjoy.

Multi-wick candle care & safety
As with single-wick candles, proper care is important to keep your candle burning long, clean and safely.
Here are a couple of our top tips:
Safety first — with more wicks comes more heat. Make sure your vessel is heat resistant. Look for thick tempered glass like a mason jar. Ceramics and properly sealed metal tins are good options as well.
Second, always burn your candle long enough for the melt pool to cover the entire surface, especially on the first lighting as wax has a memory and will remember the first shape it takes.
Our last pro tip, make sure to trim all the wicks before each burn. A neatly trimmed wick will keep your candle burning cleanly and efficiently, so it lasts longer and throws scent better. Bonus — multi-wick candles produce an even stronger scent that a single wick, so you can easily fill a large space with a warm, soothing aroma.
Our scent recommendations
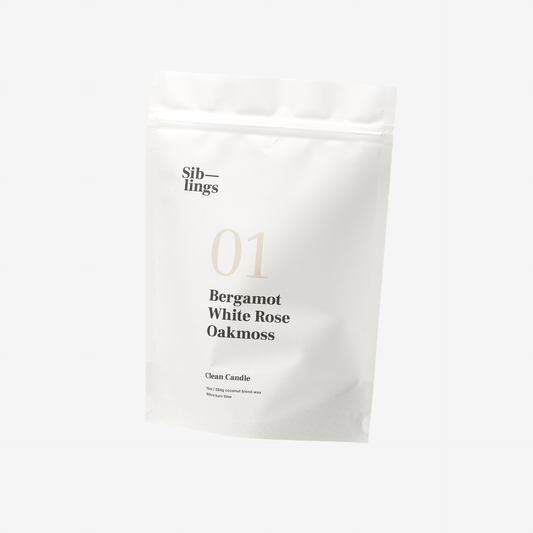
If you’re making a large multi-wick candle, you’ve probably found quite a unique vessel. We like to pair weird and wonderful scents with special vessels. A few of our favorites include No 10, No 12 and No 13. If you’re looking for something more classic, you can’t go wrong with No 01, No 05 or No 08.
If you can make a Siblings single-wick candle, you can certainly make a multi-wick candle. So go ahead and get creative with your vessels, have fun, and as always, be safe. Tag us @siblings_essentials to show off your candle creations. We can’t wait to see them.
